Welcome to Duralux Dashboard Next.js template!
We would like to thank you for choosing our template -
Duralux.
Unleash the power of efficiency with Duralux, the ultimate Admin Dashboard template that
revolutionizes how you manage your business. Seamlessly navigate through your admin tasks and track
essential metrics with ease using our meticulously designed dashboard. With a sleek dark version and
responsive Next.js and Bootstrap 5, Duralux ensures a seamless user experience across devices. Say
goodbye to complexity and hello to simplicity – each component is thoughtfully arranged for easy
access, making your workflow smoother than ever before. Upgrade to Duralux now and streamline your
business operations like a pro! we have a strong support team which 24/7 days available to
support you.
Requirements
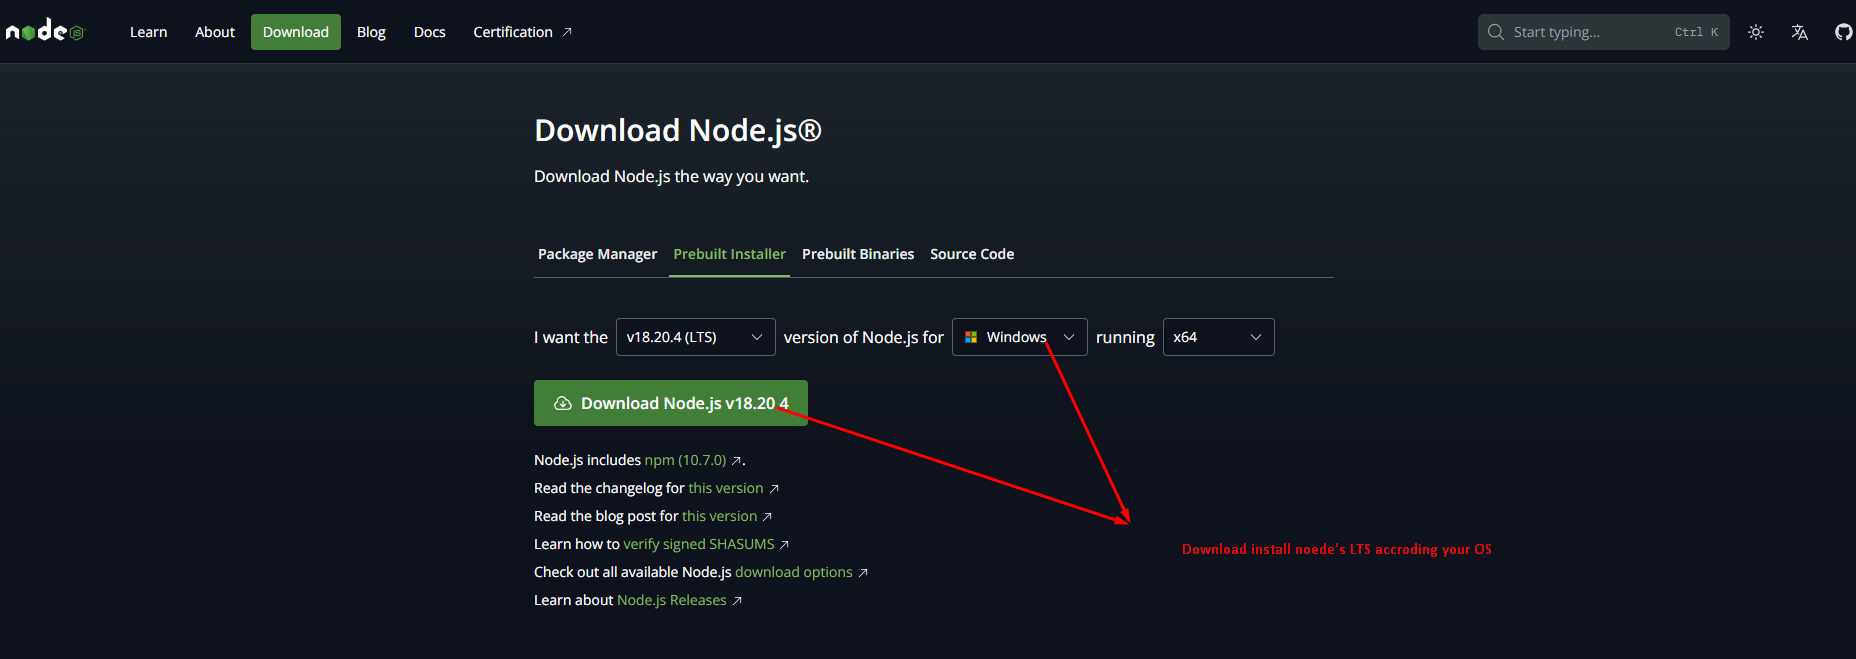
There are system requirements in order to install and
setup Solarex template and its components properly. Make
sure that you are installed
Node.js version~18.20.4 or newer .
Recommended node
If you are familiar to NPM !
First , install NPM globally
-
Open you command prompt
npm install --save npm-install-global
Check installation :
npm --version
What's Included
After purchasing Duralux template on wrapbootstrap.com
with your wrapbootstrap account, go to your Download
page. You can download Duralux template. Duralux template
package which contains the following files:
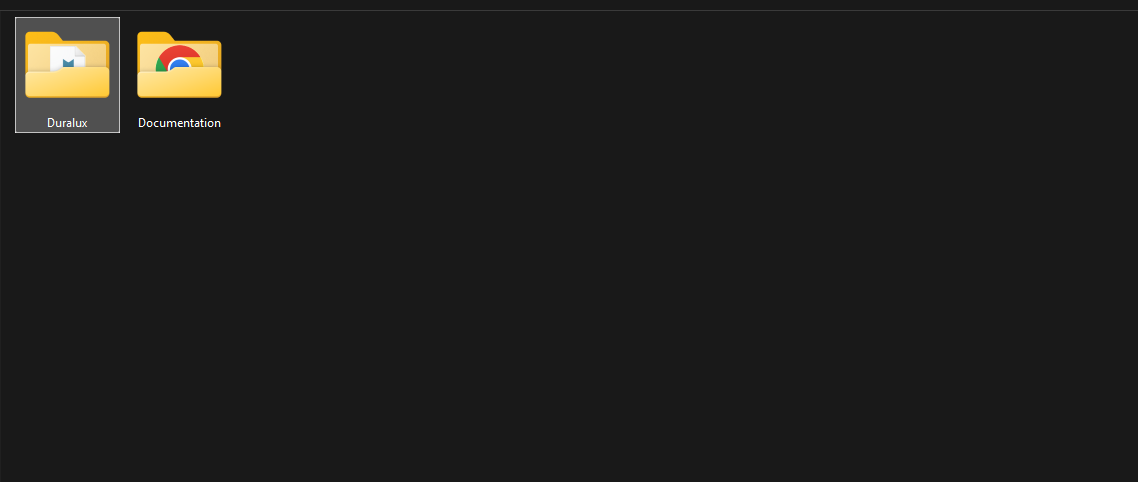
The contents of the template package downloaded from
wrapbootstrap:
Duralux.zip - An Installable Next.js
template zip file. this file you need to upload to
next.js.
Documentation - This folder contains
what you are reading now :)
Run Next.js Template
Please follow the instructions how you can run Next.js
template on your hosting:
For local host
-
Open you command prompt
npm install
npm run dev (will start the dev server)
For locally build
-
Open you command prompt
npm run build (will build locally and
generate public directory)
Just upload build folder on your server
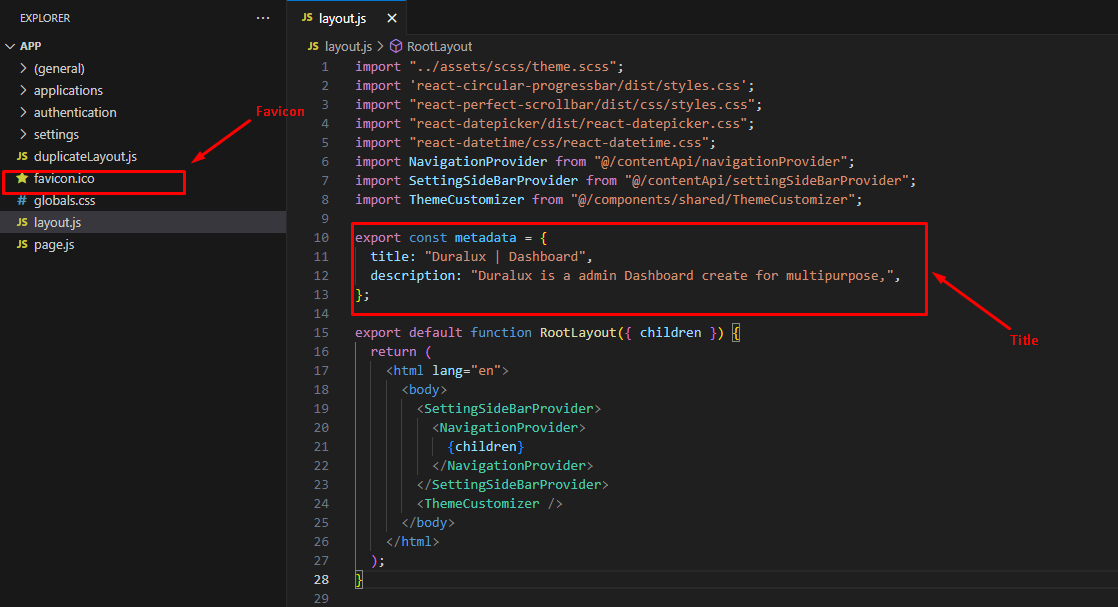
Change Site Title, Favicon and
To change your Site title and Favicon open Duralux folder
in your editor and go to the location by following
screenshot which are given bellow.
layout.jsx is root file & every components/page will
render in this file . And we can use meta ,
link , title etc. in head tag
for every pages .
Change Logo
To change logo and customize other header data do the
following:
From the project folder go to
public images
there we have all the images to use
From the project folder go to
src ComponentsSharedNavigationNavigationMenu.jsxOpen the header where you want to use
Then change the logo as well as you can also change
other data
In Footer we can change logo by the same way.
To change your logo following screenshot which are given
bellow.
By folllowing this screenshot you can change your Logo
Customize Menu
To customize menu do the following:
From the project folder go to
src ComponentsSharedNavigationMenus.jsx
Create new menu option in a li tag
and always use li before end
ul tag .
And for routing Next.js provide us
Link tag, import it from react-router-dom
Then in Link >href ="" use
page's folder name
Then customize the menu data following the screenshot
Use same way to change menu data for mobile devices
Customize the menu
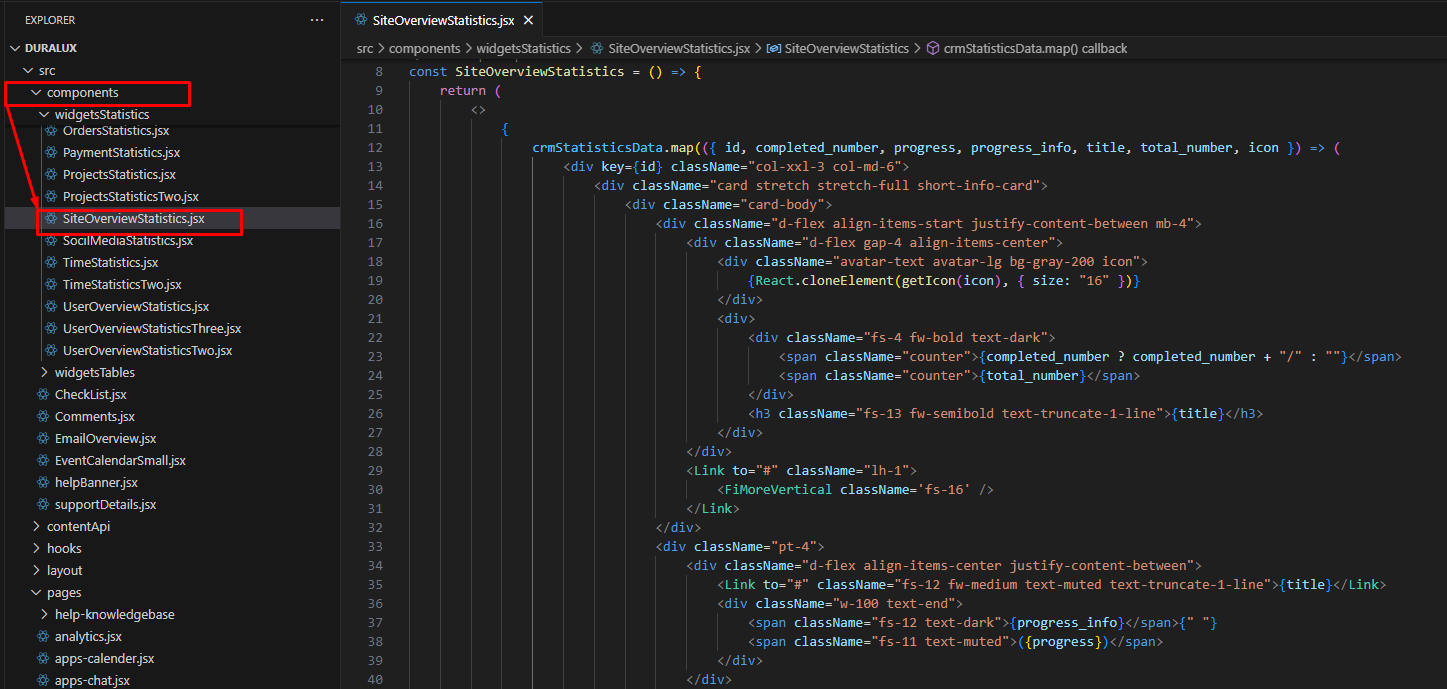
Create a new section
To create a new page do the following:
From the project folder go to
src ComponentsThen create [your-section-name].jsx file
Inner the file create a function and write your code
Then return your all data as a jsx code
At last you have to export this function where you put
your data
then import that file to
app folder and
select folder or create a new folder where you want to put
Create a new section
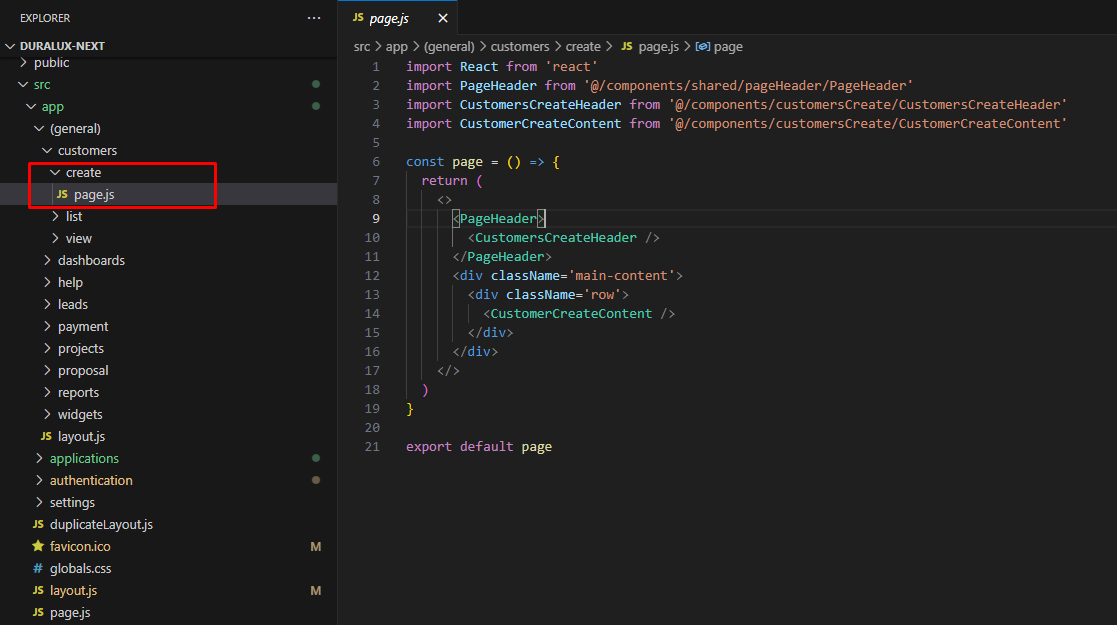
Create a new page
To create a new page do the following:
From the project folder go to
src appThen create [your-folder-name]
Inside the folder create
page.jsx
Inner the file create a function and write your code
Then return your all data as a jsx code
At last you have to export this function where you put
your data
Now you have to link in the menu or where you want to
go to this page by clicking
To done this process follow the screenshots which are
given bellow.
Create a new page
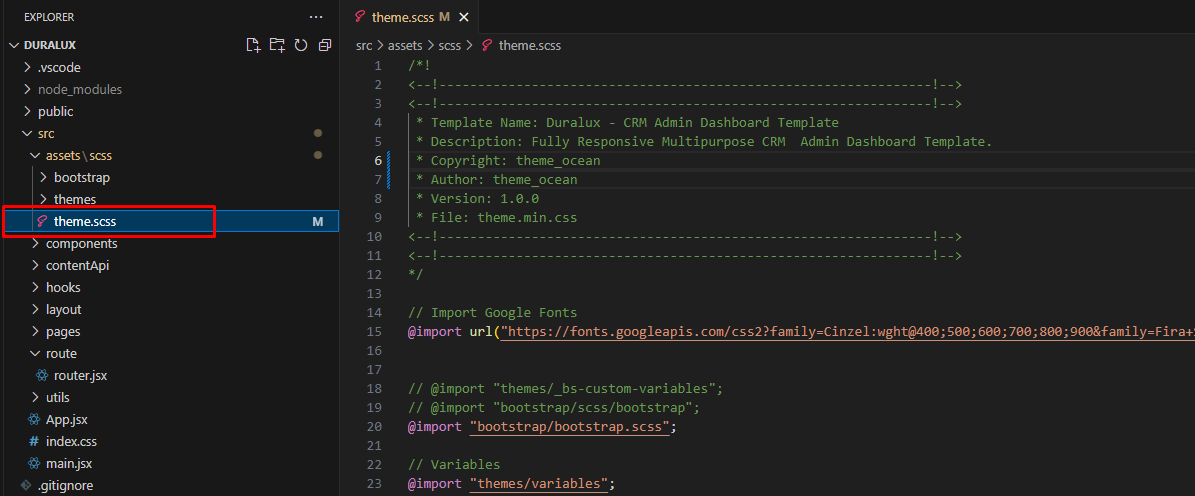
Change Styles
To change Global style
src assets scss theme.scss
Change Global Color Options Setting
Change Log
Our team never stops Improving, bug fixes, and
improvements. See What's New. We recommend you to read the
changelog for every update.